
Could the wrong surround turn a backyard pool construction project into a slippery, costly headache? When working with professional landscaping services in the USA, particularly in Roanoke, it is essential to plan the site, pool, equipment, and surround together, then budget for each separately.
Coping is the cap or edging around a pool’s rim that creates a finished transition between the pool shell and the surrounding deck. Deck estimates cover materials and deck work, not the complete installed pool.
Your yard’s slope, access, utilities, and planned use can shape both the pool design and the deck. A clear plan helps you compare options and spot costs that belong to different parts of the job.
Key Takeaways
- Assess the site before setting the pool layout.
- Keep pool, equipment, and deck budgets distinct.
- Compare estimates that use the same area and scope.
- Check permits, barriers, and inspections before work starts.
- Choose a surface suited to wet foot traffic.
Treat the pool, its equipment, and its surround as connected parts of one site plan.
Where Should a Pool Go in Your Backyard?
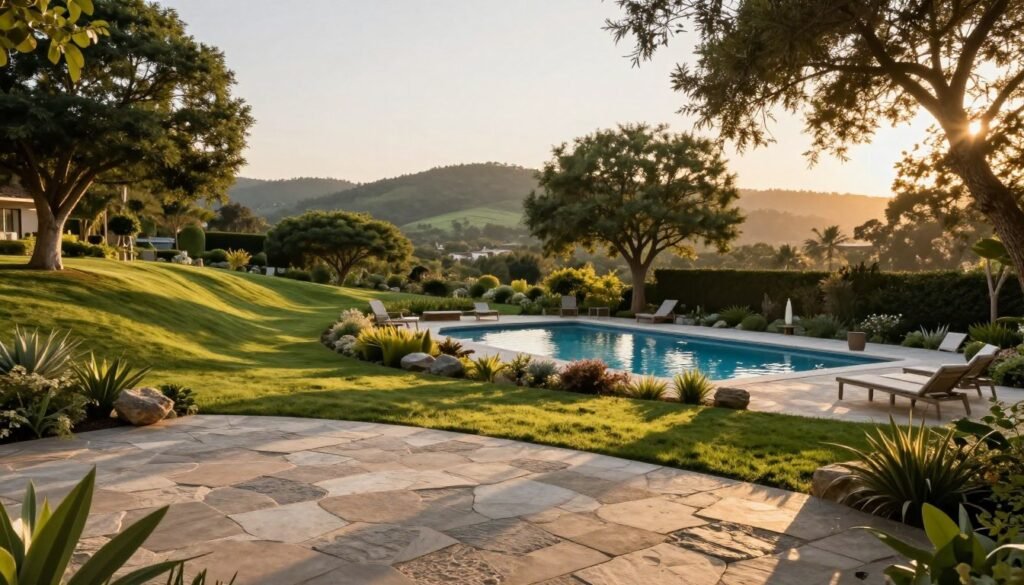
A good pool location is one that leaves room for safe access, workable drainage, and the deck you actually plan to use. The best placement also accounts for soil, sun, utilities, and the way you move around the home.
Start with a rough backyard plan that marks the house, trees, slopes, fences, and likely equipment area. Leave enough space for the pool, deck, and paths between them, rather than choosing a pool size first.
Steep ground can call for grading or retaining work, while poor drainage can direct runoff toward the pool. Soil conditions affect excavation and may change how the structure must be supported.
Construction machinery needs a clear route into the yard. Narrow gates, overhead wires, walls, and existing patios can limit access or require changes to the design.
Keep the equipment location in mind as you plan the pool. Pumps and filters need a practical service route, and plumbing lines must connect that area to the pool.
Sunlight can warm the water and brighten the deck, while nearby trees may add shade, roots, and leaves. Consider the view from the home, privacy, and clear access for emergencies.
The pool placement advice from Homes & Gardens also notes sunlight, privacy, trees, utilities, and local rules as site factors.
- Access for construction machinery: check gates, overhead lines, and turning room.
- Drainage and slope: note where rainwater flows and where grading may be needed.
- Utility corridors: mark known overhead lines and underground service routes.
- Sunlight and deck space: map sunny areas and room for chairs or walking paths.
Setbacks and easements can limit where a pool or deck may go. Check local requirements for the specific parcel instead of assuming a clear area is buildable.
A site plan should show the pool, deck, equipment, access path, and drainage direction. This gives designers and contractors a shared view of the space and its limits.
Arrange utility marking through Virginia 811 before any digging begins.
How Much Does a Pool Deck Cost During Backyard Pool Construction?
The local estimates put a timber surround at $150-$250 per square meter and a paver surround at $170-$300 per square meter, with labor included. Those are deck estimates, not complete pool installation costs.
In October 2026, Roanoke pool-deck contractors may charge $80-$100 per hour for labor. That hourly rate is distinct from the material estimates, which include labor.
| Work or material | Roanoke estimate | Labor status |
|---|---|---|
| Timber deck | $150-$250 per square meter | Labor included |
| Paver deck | $170-$300 per square meter | Labor included |
| Contractor labor | $80-$100 per hour | Hourly rate |
The October 2026 Roanoke deck estimates describe surround work only. They do not include excavation, the pool shell, plumbing, electrical work, or all-in pool construction.
A pool project budget should separate the deck from the pool structure and its systems. This makes it easier to see which work each estimate covers.
Final deck pricing depends on the measured area, material, site preparation, and design details. Curves, changes in level, and added edge work can affect the scope.
Concrete may be part of a deck plan, but the local figures above cover timber and pavers. Request a separate written estimate when comparing other materials.
Ask each contractor to price the same measured area and list the same work. Confirm whether preparation, removal, drainage, and finishing belong in each total.
A clear scope also makes it easier to compare a simple rectangle with a more detailed layout. Keep changes to the pool shape or deck area visible in revised estimates.
Compare written estimates only after confirming they cover the same area and work.
Which In-Ground Pool Type Fits Your Site and Design?
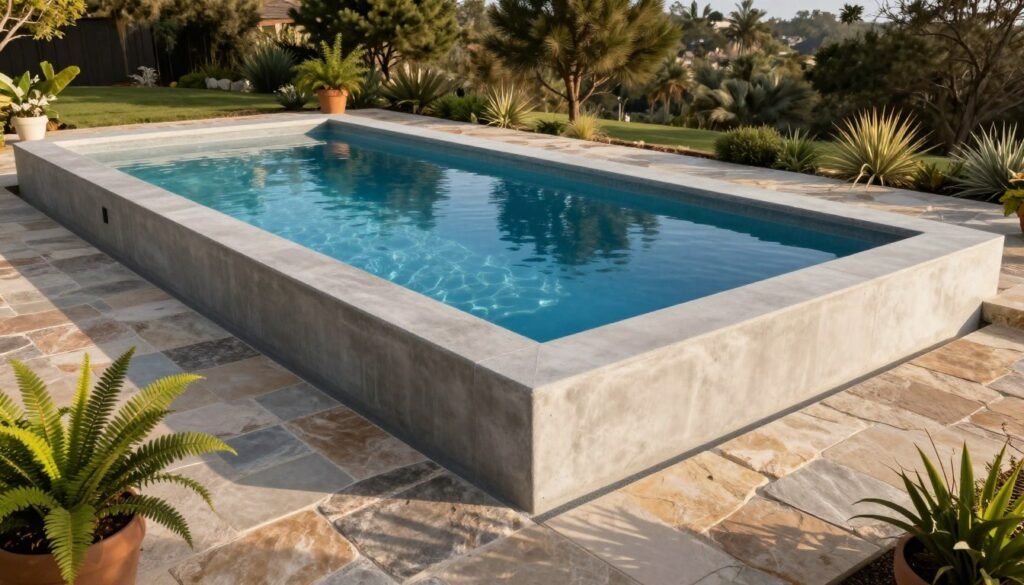
Concrete offers the most flexibility in pool shape, while fiberglass arrives as a preformed shell and vinyl uses a separate liner. Your choice affects the pool’s structure, interior surface, and design options.
Concrete pools, fiberglass pools, and vinyl pools use different construction methods. Compare how each fits your site and the shape you want before setting the deck edge.
Concrete shells allow custom shapes
A concrete pool is formed on site with a steel-reinforced shell. Workers place rebar, the steel reinforcement bars in a concrete shell, then pour or spray concrete around it.
That method allows many shapes and sizes, including curves or features that do not match a standard shell. The finished interior needs care, and concrete surfaces may need regular brushing and water-balance attention.
Fiberglass shells arrive preformed
A fiberglass pool uses a factory-made fiberglass shell that workers lower into the excavated site. The shell arrives in a fixed shape, so your design choices depend on available forms and sizes.
The set shape can simplify some layout decisions, but it limits custom dimensions. The deck and coping must meet the shell’s edge without changing its support.
Vinyl liners sit over support walls
A vinyl pool has a supporting frame or wall system with a vinyl liner over its interior. The liner holds the water and is a distinct component from the surrounding deck.
Shape choices depend on the support system and liner design. The liner can be replaced as a separate pool component, while the deck remains outside the pool structure.
| Pool type | Construction method | Shape choice | Interior surface or liner |
|---|---|---|---|
| Concrete | Rebar with poured or sprayed concrete shell | Custom shapes formed on site | Finished concrete interior |
| Fiberglass | Preformed factory shell placed in excavation | Fixed factory shape and size | Finished fiberglass interior |
| Vinyl | Supporting frame with a separate liner | Shapes set by frame and liner design | Flexible vinyl liner |
Choose the shell type before finalizing the deck layout, since the pool edge and coping must suit that structure.
What Happens During In-Ground Pool Installation?
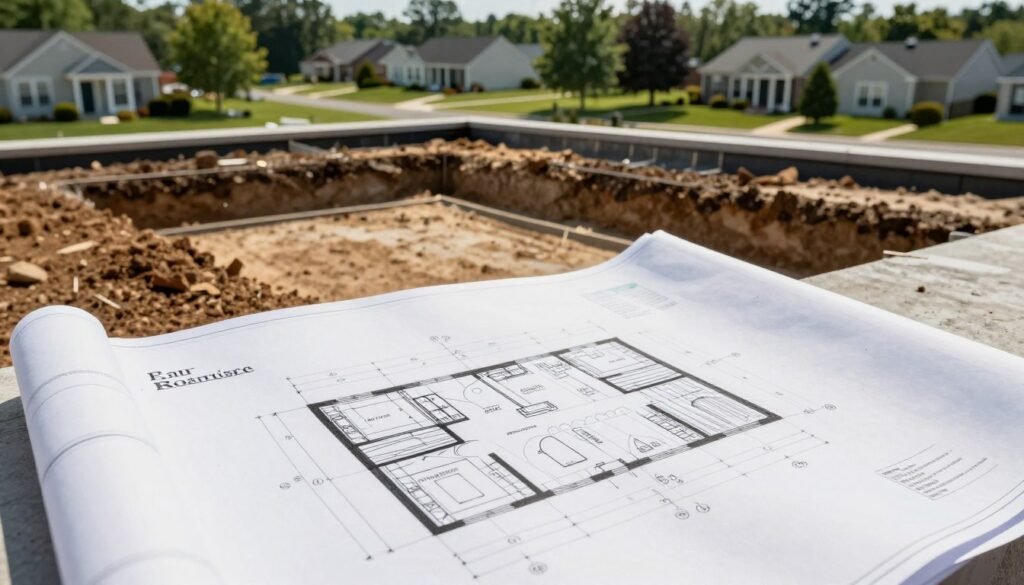
Installation begins with approved plans and coordinated trades, not with the excavator arriving in the yard. The process moves from site preparation to the pool structure, connected systems, and finished surround.
An in-ground pool kit does not always include every part of that work. Check the package contents and the division of work before treating its price as a full project budget.
Finalize plans and prepare the site
Plans should show the pool, deck, equipment, and utility layout before construction starts. Confirm the required approvals and permits, then coordinate utility checks and access with the project team.
The equipment layout affects plumbing routes and service access. Make sure the pool plan and system locations agree before crews mark the ground.
Excavate and form the pool structure
Excavation typically takes 1-3 days, depending on pool size, soil conditions, and site access. The crew must shape the opening to match the approved design, not just the pool outline.
For concrete, workers place rebar before forming the shell with poured concrete or sprayed concrete. Shotcrete and gunite are terms used for sprayed concrete methods.
Fiberglass uses a preformed shell, while vinyl uses support walls and a liner. Each option needs an excavation and support plan suited to its structure.
Changes to depth, steps, or pool shape can affect the excavation and other trades. Keep construction tied to the approved design so connected work fits.
Connect systems and finish the surround
Crews run plumbing lines and coordinate electrical work, including bonding. Test plumbing and electrical connections before anyone conceals them behind concrete, fill, or decking.
After the pool edge is ready, coping finishes the rim and joins the shell to the deck. Decking, equipment setup, and filling follow in the order set by the project plan.
Initial system checks include circulation, pumps, filters, and other installed equipment. The pool should not be treated as ready for swimming until startup checks are complete.
Kit contents and scope vary. Verify whether a kit includes the pool structure, plumbing, equipment, instructions, or installation support; do not assume it covers excavation, utility work, equipment, or decking.
Building your own pool is complex because it joins excavation, structural work, plumbing, and electrical coordination. A DIY mistake can create serious safety issues and costly repairs.
Have qualified professionals verify concealed plumbing and electrical work before it is covered.
Which Pool Deck Materials Stay Practical Around Water?
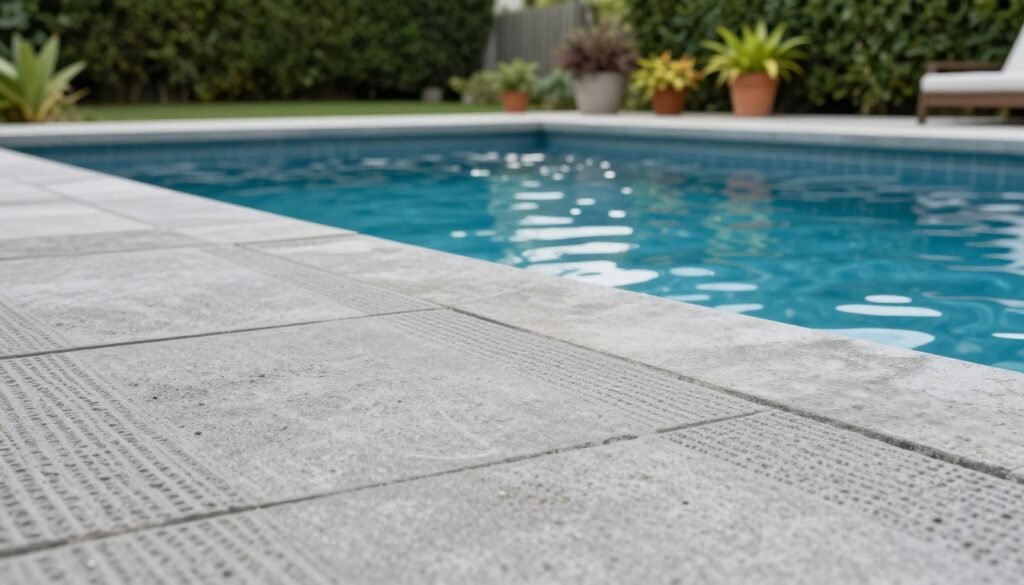
A pool surround needs a surface that remains practical under wet foot traffic, not just one that looks good when dry. Concrete, pavers, natural stone, timber, and brick each bring different texture and care needs.
Textured finishes are intended to reduce slip risk when wet, but no deck surface is slip-proof. Texture works best with sound drainage and regular cleaning.
Concrete offers many finish choices, but its comfort and grip depend on texture and condition. Cracks, worn areas, and standing water can make the walking surface less practical.
Pavers create joints between individual pieces, which can aid drainage when the base is built well. Weeds or shifting pieces may need attention as the deck ages.
Natural stone varies in texture, color, and heat underfoot. Some stone needs sealing or other care, so learn the upkeep needs of the exact material before choosing it.
Timber can feel comfortable underfoot, though it needs care against weathering and surface wear. Keep boards clear of algae and debris, and repair loose or damaged sections.
Brick has a firm, familiar look and a textured surface, but joints can collect dirt or plant growth. Its heat and grip depend on the brick, finish, and sun exposure.
Drainage matters as much as the material. Water that pools near the edge can carry dirt across the deck, while leaves and grit can reduce footing.
Coping forms the edge treatment where pool and deck meet. Choose a surface and edge that fit the home’s design and allow water to drain away from walking areas.
Homeowners planning a coordinated patio and pool area can consider custom backyard construction for the wider outdoor layout.
Check the finished surface when wet and keep it free of debris that can compromise footing.
What Permits and Safety Rules Apply in Roanoke?
In Roanoke, plan for a deck permit and inspections unless the City confirms otherwise for your specific project. The City also classifies residential pools by surface area, capacity, and depth.
In most of Roanoke, pool decks typically require a permit, with inspections usually required before and after the work. Confirm your project’s permit and inspection requirements with the City.
Check Roanoke permit and inspection requirements
The City defines a small residential pool as having a surface area of 150 square feet or less, less than 5,000 gallons, and a depth under 24 inches.
A big residential pool has a surface area of 151 square feet or more, more than 5,000 gallons, or a depth of 24 inches or more. Any one of those conditions meets the big-pool definition.
Use the City’s residential pool classifications to identify the category that applies. Ask the City whether your planned work needs permits or inspections beyond the deck work.
Apply Virginia’s barrier measurements
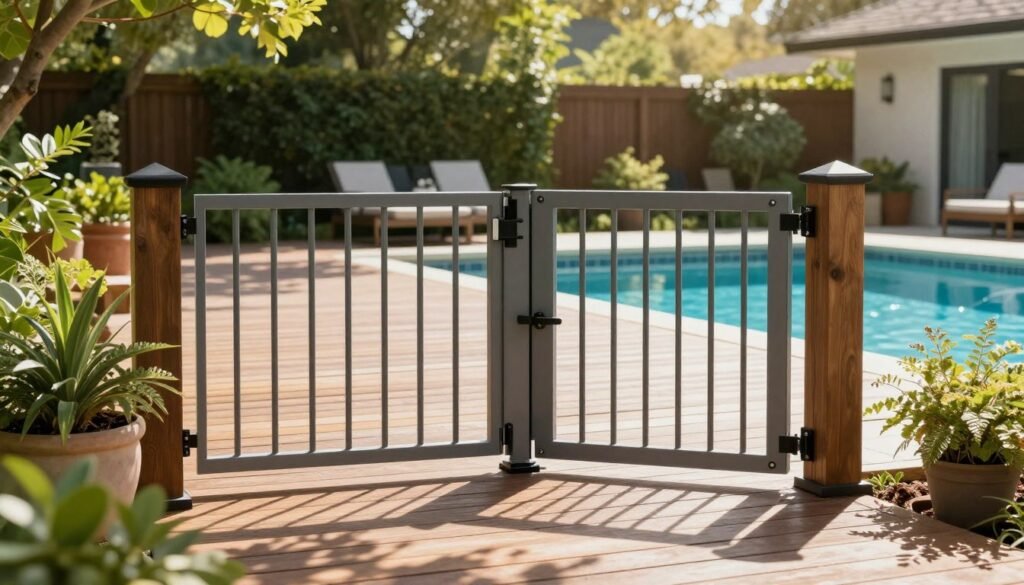
Virginia requires a pool barrier at least 48 inches high, measured on the side away from the pool. The gap beneath it can be no more than 2 inches over grass, mulch, or gravel.
Over concrete or another solid surface, the maximum gap beneath the barrier is 4 inches. Openings in the barrier must not pass a 4-inch sphere.
A standard latch release reachable from outside the barrier must be at least 54 inches high. Pool equipment outside the barrier must sit at least 36 inches from it.
Confirm the gate and safety-cover exception
Pedestrian gates must open away from the pool and close and latch by themselves. These features help keep the barrier closed after someone passes through.
A powered safety cover that meets ASTM F1346 is exempt from the described barrier sections. A manual cover does not qualify for that exception.
- Pool classification: confirm the City’s small or big pool category.
- Permit application: check what your proposed pool and deck require.
- Required inspections: confirm when inspectors must visit.
- Barrier and gate dimensions: check height, gaps, openings, and latch placement.
- Equipment clearance or qualifying powered cover: confirm the applicable rule.
Verify the applicable classification and permit requirements with the City before work starts.
How Long Does Pool Construction Take?
Fiberglass installation is usually measured in weeks, while a concrete pool can take several months. Typical installation times are 2-4 weeks for fiberglass, 4-6 weeks for vinyl, and 3-6 months for concrete.
Those windows describe typical installation, not the full period from early planning to swimming. Approvals and site conditions can add time before active work begins.
Compare the typical build windows
| Pool type | Typical installation time | Main time driver |
|---|---|---|
| Fiberglass | 2-4 weeks | Preformed shell installation |
| Vinyl | 4-6 weeks | Frame and liner installation |
| Concrete | 3-6 months | On-site shell construction and curing |
The typical pool installation windows reflect different ways crews form and set each pool structure. Concrete takes longer because its shell is built on site and must cure.
Allow for curing, approvals, and site conditions
Weather can pause excavation or concrete work when the ground or work area is unsafe. Soil conditions, a complex design, approvals, and trade scheduling can also shift the calendar.
Concrete shell curing can take 7-28 days, depending on conditions. This curing period is part of the work, even when crews are not actively building.
Separate active construction days from the full span between planning and completion. A schedule should show approval time, work days, curing, and startup as distinct parts.
Ask how the project team will handle rain delays and protect unfinished surfaces. A clear schedule should show which tasks can continue and which must wait.
Ask for a project schedule that separates permit time, active construction, curing, and final startup.
What Happens at Pool Startup and During Early Care?
A completed shell is not ready for swimming until the water and equipment have been checked. Startup includes testing the system, balancing water, setting sanitation, removing debris, and confirming filter operation.
Follow instructions for the pool’s specific interior finish. Newly plastered concrete needs special early care while its surface settles.
For a newly plastered concrete pool, do not add chlorine for at least the first 48 hours. Brush the surface at least twice daily for at least 10 days after filling.
These directions apply to new plaster, not every pool finish. Ask the person handling startup to explain the tests and equipment checks before swimming begins.
- Test and balance water using the startup directions.
- Follow the pool finish’s startup instructions.
- Brush new plaster as directed.
- Check circulation and clean debris.
Ongoing care includes regular water checks, cleaning, and filter maintenance. Seasonal preparation should match the property and local weather.
Follow the pool professional’s finish-specific startup instructions before anyone enters the water.
Conclusion
A well-planned pool project starts with a workable site and a clear division between pool and deck decisions. The deck budget remains separate from the complete pool budget, so keep both visible as you shape the plan.
Site fit and code checks belong in early planning, before the design becomes difficult to change. A clear layout can help you discuss access, drainage, and the outdoor space you want.
Before excavation, confirm the required plan set and inspections with the Roanoke permitting office.