
Can a sloped yard feel easy to use without sending water toward your home or your neighbor’s property? A sloped Blue Ridge lot can be both a place to live outdoors and a site that needs careful planning for water, access and construction.
Good residential landscape design starts with how the land works, not with a picture of a finished yard. Slope, runoff, access and intended use shape decisions for homeowners, contractors and property managers.
Hardscape means the nonliving built parts of a yard, such as patios, paths and walls. Softscape means the living plant materials, including trees, shrubs and ground covers.
This guide offers a staged way to plan the site, choose features and check local project obligations before work begins. A clear plan helps you make design choices that fit the property before work begins.
Key Takeaways
- Map the property, its slope, existing features and utility routes.
- Use a measured plan to test layouts before construction.
- Match plants and materials to site conditions and daily use.
- Plan how runoff moves before changing grades or adding hardscape.
- Check local approvals and project roles before work starts.
What should you map before planning the yard?
Begin with a rough sketch that shows the house, permanent features and the area you intend to change. A useful site sketch also marks paved areas, existing trees, doors, windows and known utilities.
Record what affects the space now, including access for people, equipment and deliveries. Missing a utility line or overlooking a window view can force costly layout changes later.
Use this short site-survey checklist before planning the landscape:
- Mark property boundaries, dimensions and the area you may change.
- Show existing structures, paved areas and trees worth keeping.
- Mark doors, windows and views from the rooms you use most.
- Note utility lines, access points, sun, shade and wind exposure.
- Record slope direction and areas where water gathers or flows.
Start with a property survey or county map when one is available, then check its measurements on site. Add a north arrow and note the scale so later drawings remain easy to read.
Record sun and shade at different times, since one quick visit can give a false picture. The USDA Plant Hardiness Zone Map is a useful reference for recording the site’s winter planting context.
Leave space on the sketch for notes about views, noise and routes people already use. A path worn into the grass may show where a formal walkway would make daily trips easier.
Ask a utility locating service to mark buried lines before anyone plans excavation. Mark utility locations before any digging is scheduled.
Which design principles make a landscape feel cohesive?
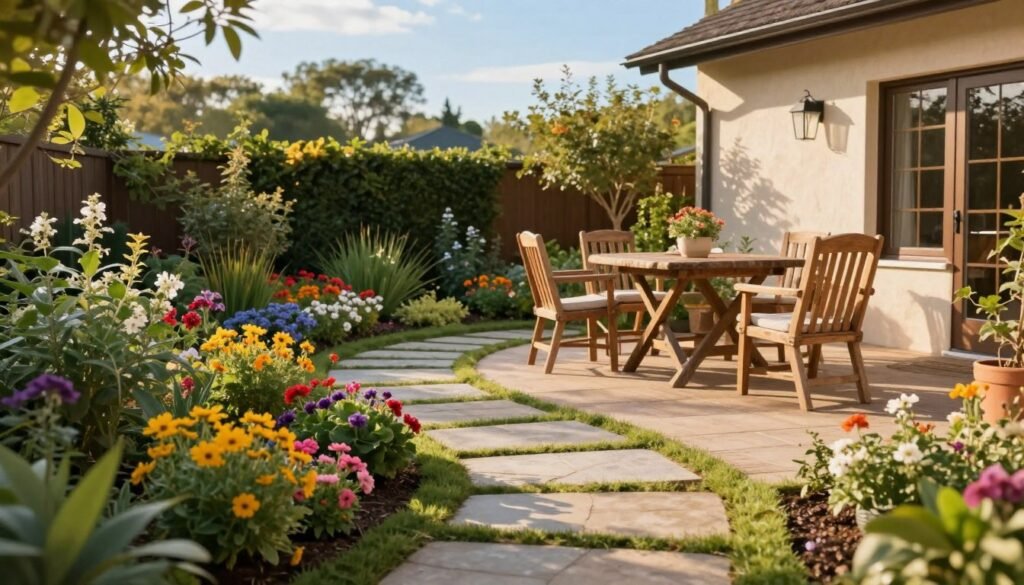
A cohesive design connects the house, paths, planting areas and gathering spaces through a few repeated visual choices. Landscape design uses scale, balance, unity, perspective, rhythm and accent to make those parts feel related.
Scale describes how the size of plants and built features relates to the house and to each other. A broad home may look out of balance beside a tiny landing, while a small yard can feel crowded by oversized features.
Balance comes from the visual weight of the elements on each side of a view. Symmetrical balance places similar elements on both sides, while informal balance uses different elements with similar visual weight.
Symmetry is not required for balance, which helps on irregular hillside lots. A large tree on one side might balance a group of shrubs and a stone wall on the other.
Unity comes from repeating a limited palette of materials, colors or plant forms. Reusing the same path stone at the entry and patio can tie separate spaces together.
Perspective shapes how far away or close a feature seems. A path that narrows toward a view can make a small yard feel deeper, while a wide foreground feature can make a space feel more intimate.
Rhythm uses repeated forms to guide the eye and movement through a landscape. Repeating a plant shape, path edge or low wall can lead people toward a seating area without adding signs.
Accent gives the eye one clear place to rest, such as a specimen tree or a distinctive bench. Too many accents compete, so give one feature more attention than its neighbors.
These principles help keep a plan focused on enjoyment while limiting unnecessary cost and environmental harm. Repeat one material or plant form in more than one area to give the eye a clear visual thread.
How do you move from a rough sketch to a buildable plan?
A buildable plan starts with a measured drawing that can be changed without losing the original site record. Measure the space, transfer the information to a scale drawing, then test options on tracing paper.
Keep the master copy clear and readable. A scaled plan can record dimensions, access points, utilities, sun, shade, wind and slope.
Sketch and measure the property
Begin with the rough sketch from your site visit, then measure the house, boundaries and fixed features. Include doorways, windows, paved areas and the routes used by people and equipment.
Check long distances with a tape or measuring wheel, and confirm key points before drawing. Write down measurements as you go instead of relying on memory.
North Carolina State Extension recommends mapping boundaries, structures, utilities, doors, windows and vegetation on a base map. Its examples use a scale of one inch to 10 feet for small areas, or one inch to 20 feet for larger sites. NC State Extension’s site-mapping steps can help you build that base.
Create a simple landscape design for a home
Transfer the measurements onto graph paper at a consistent scale, then label fixed items and site conditions. This master copy becomes the record you can return to when an idea changes.
A simple landscape design for a home can focus first on one clear entry route and one usable gathering area. Draw direct movement between them before adding smaller features.
Put permanent features on the plan before choosing plants. Mark paths, seating, patios, walls and service areas, then test how people will move around them.
DIY landscape design for beginners: sequence the build
Test alternatives on tracing paper placed over the master copy. You can shift a patio or widen a path without erasing accurate site measurements.
Buying plants before confirming bed locations, utility routes and seating is a common DIY mistake. A plant may suit the yard but block an access path or occupy space needed for a future feature.
| Stage | Action | Working output |
|---|---|---|
| Outline | Mark the house and permanent features | Rough site sketch |
| Measure | Record dimensions, doors, windows and utilities | Measured sketch |
| Transfer | Draw to scale and mark sun, shade, wind and slope | Master copy |
| Trace | Test alternate layouts on an overlay | Revised concept |
Keep the measured master copy intact and make revisions on a separate overlay.
What changes when the property sits on a Blue Ridge slope?
On a sloped lot, the ground’s shape should guide where you place paths, seating and terraces. The location of the house, access route and usable flat areas affects how well each feature fits.
U.S. Geological Survey topographic maps show changes in elevation with contour lines. Lines close together signal a steeper section than lines set farther apart, so use the pattern to prompt a closer site check.
Read the contours with the ground in view, since a map does not show every surface detail. Look for abrupt changes, exposed rock and places where the slope seems unstable.
Some paths and planting beds can follow the terrain with gentle turns or bands. A terrace may create level space for seating, but it also changes how the yard meets the slope.
Think about how workers and equipment will reach each work area. Tight access may limit the size of machinery, change how materials arrive or make hand work necessary.
A flat landing can look simple in a drawing and still need grading or structural review. That is especially true when the existing slope is steep or unstable.
Plan for the path from the street or driveway to the work area before setting a feature’s final location. A place that is hard to reach can add work or change the construction method.
Compare the proposed layout with the site’s contour information before fixing the location of a terrace.
How do you choose plants for the site and foundation?
Choose plants for the conditions they will encounter at maturity, not just the size they are at the nursery. Check mature height and spread, sunlight, soil and drainage before choosing a tree, shrub or ground cover.
The USDA Plant Hardiness Zone Map helps match plant choices to winter conditions, but it does not describe every part of a yard. A shaded slope, a sunny wall and a wet low spot can create different growing conditions on one property.
Match plants to mature size and conditions
Use this planting checklist before buying:
- Check mature height and spread against available space.
- Match the plant to its sun exposure.
- Check soil and drainage in the planting area.
- Consider local climate and winter conditions.
- Estimate maintenance needs and nearby plant growth.
Locally appropriate native plants can support a planting plan when they fit the site. Their suitability still depends on light, soil, moisture and the room available at maturity.
A simple garden landscape design can use a limited palette repeated in well-defined beds. Ground covers and turfgrass can also connect separate planting areas, when they suit the site and upkeep needs.
Keep foundation planting and ground cover practical
Choose foundation plants that will not outgrow the bed or cover windows and vents. Leave access for repairs, and keep mulch away from siding and plant stems.
Gravel next to a foundation is not automatically a drainage fix. It is suitable only when the finished grade carries water away from the house, rather than toward it.
Use plants and ground covers that suit the bed’s conditions instead of forcing a single choice around the whole home. A dry, sunny wall may need a different planting plan from a shaded corner.
Check mature spread against the measured bed width before buying a tree or shrub.
What Residential Landscape Design Ideas suit each part of the yard?
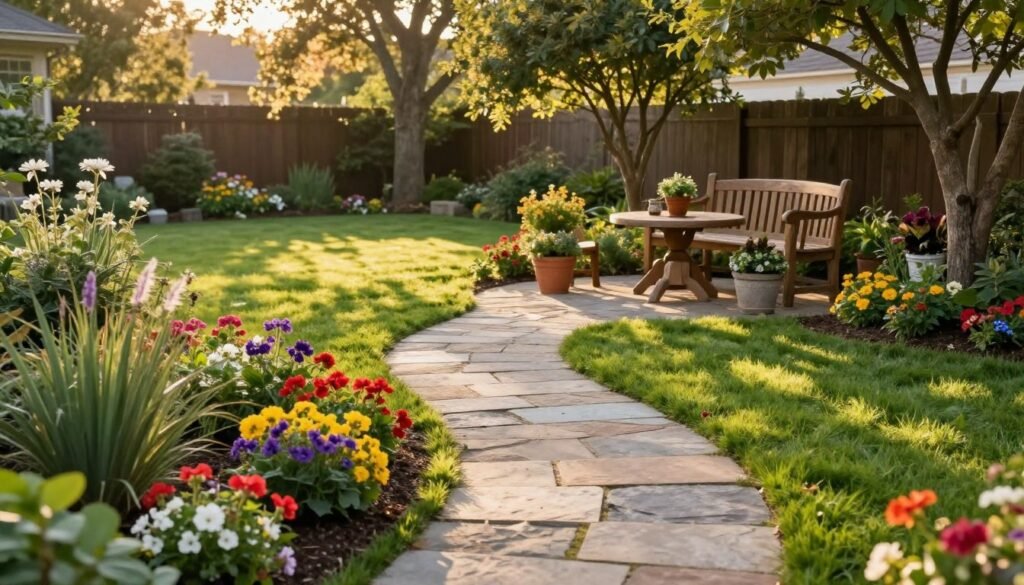
The most useful ideas begin with how each part of the yard needs to work, not with a single style label. Plan around three zones: front-yard entry, backyard gathering and hillside transition.
Give each area a clear purpose, then choose features that serve it. One route can welcome visitors, another space can support daily use, and a hillside path can connect elevations.
| Yard area | Main purpose | Suitable design move |
|---|---|---|
| Front entry | Make the approach legible | Repeat a path material and use defined foundation beds |
| Backyard | Support gathering or quiet use | Place seating where it suits views and shade |
| Hillside transition | Connect different elevations | Use a path or planting bands that follow the terrain |
Give the front yard a clear arrival
A front yard works well when visitors can see where to walk and where the entrance sits. A steady path line and defined planting beds can make the approach easier to read.
Keep the route clear and relate its materials to the home. A repeated edge or paver color can connect the entry with other outdoor spaces.
Make the backyard fit daily use
Place backyard seating where it suits the view, shade and way you spend time outside. A quiet chair may need a different spot from a dining table or a play area.
For more tailored options, residential landscape design services can help match plant and hardscape choices to a home’s style and space. Keep the plan tied to real uses instead of adding features just because they appear in a picture.
Choose a style that suits the house and site
A restrained modern palette can suit a home with simple lines and a clear layout. Layered woodland planting can soften a house beside trees, while an informal eco-friendly style can mix varied plants and natural materials.
Landscape design pictures can help you study layout, materials and plant combinations. Check the pictured site’s slope, light and scale before treating it as a template.
Choose one visual idea from an inspiration image and adapt it to your lot’s scale and conditions.
Which hardscape materials fit paths, patios and decks?
Choose hardscape materials for the job they must do, the grade they sit on and the amount of upkeep you can manage. Pavers suit varied patterns, poured concrete creates a continuous surface, and gravel works for informal paths.
Wood or composite decking can make an elevated area usable where the ground drops away. The choice also depends on how the surface connects to the house and the routes people need.
Interlocking concrete pavers allow pattern choices and can be repaired by replacing individual units. Their performance depends on the compacted base, bedding layer, joint material and edge restraints, not only the paver surface.
A paver patio typically needs 6-12 inches of excavation and a compacted base. Curves and edges need careful layout and base preparation, not just surface-level placement.
Poured concrete offers a continuous surface, though its layout gives you fewer pattern choices. Gravel can fit a relaxed garden path, but the edge and underlying ground affect how well it stays in place.
Decking can create a level place to sit above uneven ground. Wood and composite boards differ in upkeep, so compare the care each surface will need over time.
For any hardscape, confirm where water will go and how the base will meet the existing grade. A well-chosen surface can still fail if the base shifts or water collects at its edge.
Confirm the base preparation and finished surface height before material installation begins.
How can the plan manage stormwater on a slope?
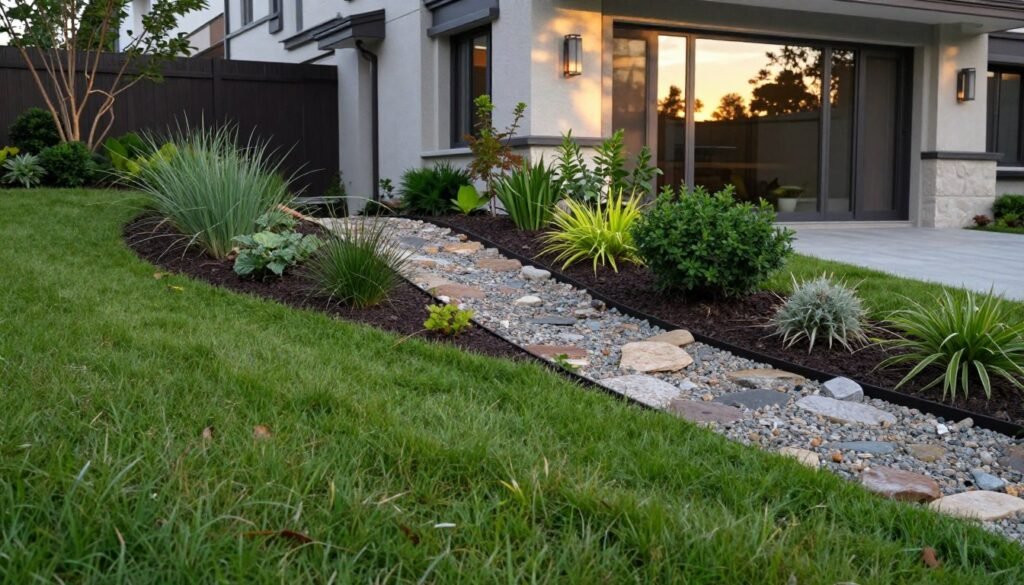
Start drainage planning by preserving natural features where possible, then limit construction impacts and address what remains. Virginia’s Stormwater Management Handbook puts these steps in order: avoid impacts, minimize construction impacts, then mitigate remaining impacts.
Keep existing plants, soils and other natural features where they can help manage water. A design that avoids disturbance may need fewer new drainage structures.
Trace surface-water routes across the property, including where runoff enters and leaves. A visible stream across a yard calls for a different response from wet soil that stays saturated below the surface.
French drains and retaining walls are not interchangeable fixes. A French drain collects and moves groundwater or seepage, while a retaining wall holds back soil and may need its own drainage design.
Do not send concentrated runoff onto a neighboring property. Changes to grades and hard surfaces can alter where water flows, so check the effect beyond the work area.
Serious drainage work, such as French drains or retaining walls under four feet, can add $1,500-$6,000. The right response depends on the water source and the site conditions.
Seek a qualified site assessment when water remains near a foundation, a slope moves, or a planned feature changes a runoff route. Get qualified site advice before changing grades or directing concentrated runoff downhill.
How much does a residential landscaping project cost in 2026?
For a 2026 U.S. project, the overall residential landscaping range is $4,500-$22,500, with scope and local conditions shaping the final quote. Typical installed costs run $4-$20 per square foot.
A full backyard renovation often costs more because it can combine several features and site tasks. Compare the scope before treating two bids as equal.
Typical project ranges
These typical U.S. project ranges give you a starting point for early budgeting. Actual quotes depend on the work included and the property.
| Project type | Typical total | Installed rate |
|---|---|---|
| Residential landscaping | $4,500-$22,500 | $4-$20/sq ft |
| Full backyard renovation | $15,000-$60,000+ | $15-$50/sq ft |
| Garden or planting beds | $1,500-$10,000 | $5-$15/sq ft |
| Concrete or paver patio | $3,500-$15,000 | $8-$30/sq ft |
| Pathway or walkway | $800-$5,000 | $10-$25/sq ft |
A lawn installation typically costs $2,500-$8,000, or $1-$5 per square foot. An elevated wood or composite deck typically costs $7,500-$30,000, or $30-$60 per square foot.
Paver patios typically cost $15-$30 per square foot installed. Premium pavers and curved layouts can push a patio toward the upper end.
Site conditions and material choices
Access can change labor needs, especially when workers must carry materials through a narrow side yard. Constrained access can add 15-30% to hardscape labor costs.
Demolition and grading can add $2-$6 per square foot to hardscape work. A difficult site may need more preparation before the visible materials go in.
Location can shift project costs by about 40% in either direction. Local labor, material supply and delivery can affect the same project differently from one region to another.
Design, labor and delivery costs
A landscape plan typically costs $300-$2,500, while full design-build design fees run 10-15% of build cost. U.S. landscape labor typically costs $50-$100 per hour.
Bulk stone, mulch and concrete quotes commonly include $150-$400 delivery surcharges. Ask whether delivery appears as a separate line so you can compare bids fairly.
A backyard remodel with a patio, deck, lighting and irrigation can exceed $35,000. Typical 2026 project ranges help set a starting budget, but your written scope should guide the final comparison.
Compare bids using the same scope, site preparation assumptions and materials.
Which permits and pre-build checks should you confirm?
Confirm local permit requirements before ordering materials or starting excavation. Rules depend on the authority with jurisdiction, and project type and site conditions can add review needs.
Deck height, wall structure and nearby features can change what approvals apply. A contractor’s estimate does not replace a local review.
Use this pre-build checklist to organize questions for the local authority:
- Review local permit rules for the exact work and property.
- Check the deck height and the rules that apply to its structure.
- Confirm retaining-wall height, structure and review needs.
- Ask about pool-deck approvals and related site requirements.
- Confirm utility locations and the contractor’s written scope.
Landscaping permits typically cost $150-$1,500, but local rules and fees differ. Common permit review triggers include decks over 30 inches high, structural retaining walls over four feet, and most pool decks.
Those thresholds are not universal rules. The local authority may use different limits or require review for other work, based on the site and project details.
Ask who will apply for approvals and who will schedule inspections. Make sure the written scope matches the work described in the application.
Keep written approval and the final approved scope with the project records.
Which DIY landscape design tools help visualize a plan?
A DIY landscape design tool helps you compare layouts before you commit to materials or construction. A scaled planning program suits detailed plans, while a quick visual tool can help test early garden concepts.
Neither type can confirm grade, drainage performance or code compliance. Use software to picture options, then check dimensions against the measured site plan.
Windows software for detailed plans and walkthroughs
Realtime Landscaping Pro 2026 runs on Windows 10 and 11. It costs $279 as a one-time purchase, with no subscription requirement.
The program includes more than 6,000 plants and can create plans, 3D scenes, animations and short walkthrough movies. Realtime Landscaping Pro’s 2026 features can help you show a proposed space from several views.
Realtime Landscaping Plus 2026 costs $149, and Realtime Landscaping Architect 2026 costs $599. Both are one-time purchases without subscriptions.
Pro’s free trial has no time limit, but it watermarks output and includes fewer objects and materials. That can limit how closely a trial plan matches the finished design.
Free tools for early garden concepts
DreamPlan has a free version and supports 2D and 3D garden design. It includes planning for pools, decking and plants.
A quick concept tool can help you compare a patio location with a planting bed or deck. A scaled program gives you more control over dimensions and plan details.
Use either option to explore choices, not to decide whether a slope is stable or drainage will work. Check any final dimensions and site conditions against a measured plan rather than relying on a rendered view.
When should you hire a landscape designer or architect?
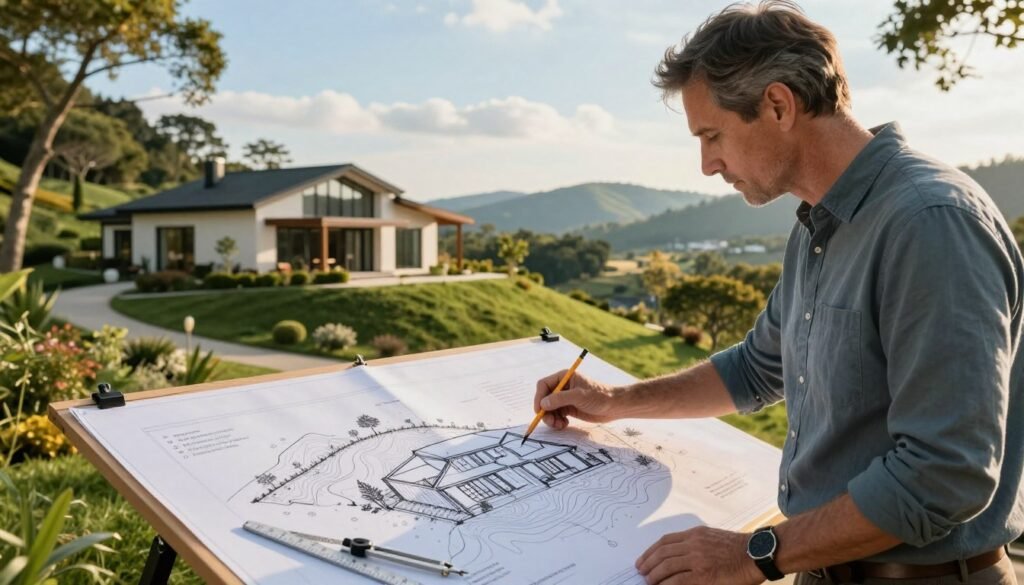
Hire for the complexity of the site, not just the size of the planting list. A landscape designer can help with a typical residential refresh, while complex grading, drainage, retaining walls or code questions may call for a landscape architect.
A landscape architect is a trained, state-licensed professional where required. A landscape designer plans residential outdoor spaces but does not necessarily hold a state license.
Match the professional to the project
Landscape architects commonly work on complex site planning and construction questions. They generally need a degree, and state licensing rules vary.
For either role, check credentials, relevant project experience, scope, and deliverables. Ask how the professional will work with contractors and address local codes.
Use this hiring checklist before you agree to design work:
- Confirm relevant experience with similar sites and projects.
- Check licensing where the work or state requires it.
- Get the scope, fees and deliverables in writing.
- Ask how design work will coordinate with contractors.
- Check familiarity with local codes and review steps.
For example, a Roanoke landscape design firm offers custom landscape and hardscape work, quotes and consultations. Compare any provider’s experience and written scope with your project needs.
Find training that fits your goals
Residential landscape design courses can start with university extension classes or community-college horticulture and design courses. These options can build practical knowledge for homeowners who want to plan their own yard.
An accredited landscape-architecture program offers a formal path for people seeking professional training. It is different from a short course for personal use.
Confirm the professional’s qualifications and written scope before authorizing design or construction work.
Conclusion
A successful outdoor project begins with choices that fit the land and how you plan to use it. Your yard’s slope and water routes can shape the best place for paths, seating and planting.
Start with a measured site sketch and confirm local requirements before you set a construction date. Make the measured site sketch and contact the local authority before scheduling excavation.